


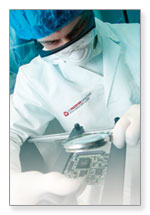


- – Do not use any utility software if your hard disk is making noise, such as scraping, tapping, clicking, or humming sound, or if the drive is unstable with read errors.
- – If your device suffers from physical damage or makes unusual sounds, do not turn it on.
- – Shut down your computer to avoid further damage to your drive and its data.
- – Trying to recover the data by yourself, using over-the-counter tools, is a risk, as you may cause further damage to your drive and permanent data loss.
- – Set up another computer or server to replace the damaged unit and restore available backups onto the new unit to begin productive work.
What should you do if disaster strikes
")
Avoid data loss – safety tips
To prevent data loss, follow these safety tips:
-
- Regularly back up your data, particularly when updating your system. Keep copies of crucial data offsite for added protection.
- Always shut down your computer using the operating system’s proper shutdown procedure.
- Use up-to-date hardware and software tools for data security, such as antivirus programs and firewalls.
- Operate laptops on a hard, flat surface to facilitate proper ventilation and prevent overheating.
- Keep server cooling systems, like fans and portable air conditioners, close to the equipment to maintain optimal operating temperatures.
- Ensure proper airflow around external drive cooling fans by allowing ample space and removing any obstructions.
- Avoid turning off peripheral devices while the computer is on or when the disk is active to prevent data corruption.
- Keep drives stable and stationary during operation. If you need to move your computer, power it down first.
- Prevent static electricity by grounding yourself before handling or touching any media.
- If you notice unusual sounds coming from your computer, immediately power it off to minimize potential damage.

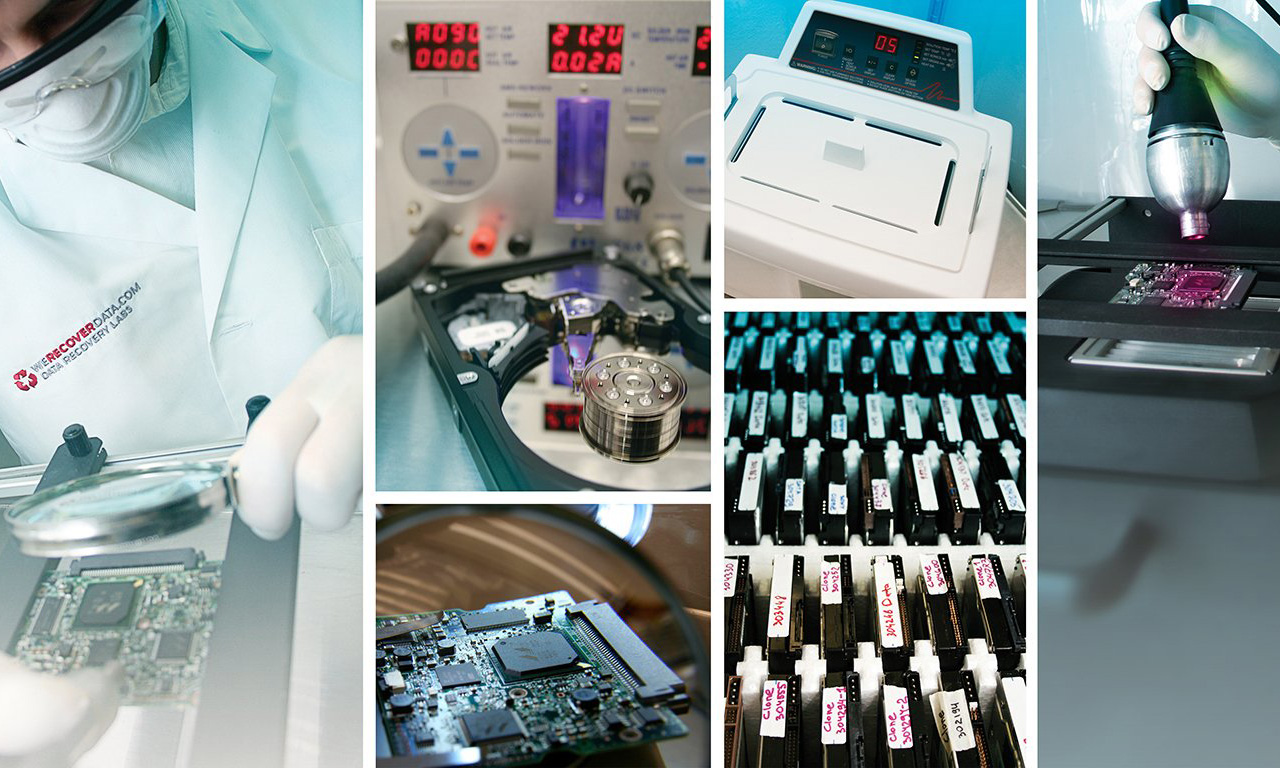
Case Scenarios and Action Steps
Symptom 1: Clicking noise coming from the computer.
Cause: Often due to a head crash or misaligned head, causing the hard drive (HD) to fail to initialize. Can affect both new and old HDs, with older drives being more susceptible to head crashes and failures.
Action: Turn off the computer immediately and take the HD to a data recovery expert. Continued attempts to access the HD decrease the likelihood of successful recovery.
Affected Media: HD 2.5″, 1.8″ (Laptop), HD 3.5″ (Server), RAID Array (Server).
Symptom 2: Reduced or slow computer performance following a hard drive crash.
Cause: Frequently caused by overheating. This can occur in both new and old HDs, with older HDs being more prone to overheating.
Action: If you experience these symptoms and cannot access your operating system, stop using the computer. Turn it off and take the HD to a data recovery expert immediately.
Affected Media: HD 2.5″, 1.8″ (Laptop), HD 3.5″ (Server), RAID Array (Server).
Symptom 3: Deleted file and emptied the recycle bin/trash can.
Cause: Human error.
Action: Stop using the computer immediately. Shut down the computer using the physical power button and take the HD to a data recovery expert. Continued usage decreases the likelihood of successful recovery.
Affected Media: HD 2.5″, 1.8″ (Laptop), HD 3.5″ (Server, Desktop), RAID Array (Server).
Symptom 4: Formatted an HD containing important data.
Cause: Human error.
Action: Stop using the computer, shut it down, and take it to a data recovery expert. The more actions performed on the affected HD, the lower the chances of successful recovery.
Affected Media: HD 2.5″, 1.8″ (Laptop), HD 3.5″ (Server, Desktop), RAID Array (Server).
Symptom 5: Deleted photos on a digital camera.
Cause: Human error.
Action: Cease using the camera immediately, remove the memory card, and take it to a data recovery expert. Continued usage reduces the likelihood of successful recovery.
Affected Media: All digital camera memory cards.
Symptom 6: Formatted memory card in a digital camera.
Cause: Human error.
Action: Stop using the camera immediately, remove the memory card, and take it to a data recovery expert. Continued usage decreases the chances of successful recovery.
Affected Media: All digital camera memory cards.
Symptom 7: RAID array drive(s) failed, or RAID array failed to initialize, preventing data access.
Cause: One or more HDs failed, or the array controller failed.
Action: Immediately stop using the server, label the HD order (0,1,2…), and take the array, preferably with the controller, to a data recovery expert. Avoid replacing HDs or controllers, as this could cause data loss. Most RAID array data losses result from human errors.
Affected Media: RAID array (SCSI, ATA, SATA).
Symptom 8: Backup tape unreadable by tape drive or backup software during a restore operation.
Cause: Magnetic tape may be old or have surface issues.
Action: Take the tape to a data recovery expert for diagnosis. In some cases, it’s easier and more cost-effective to recover data from a damaged HD than from a tape.
Affected Media: Magnetic tape.
Contact us
| Phone: |
Toll Free – USA & Canada 866-400-DATA Live Support Phone Hours: Emergency Critical Response is available 24/7 |
|
| Contact Form: | Recovery Inquiries | Lab |
| Technical Support (Pre or Post Recovery) | Press Relations | |
| Customer Service | Job Opportunities | |
| Email: | CSR @ WeRecoverData.com | |
| Phone: |
Toll Free – USA & Canada 866-400-DATA Live Support Phone Hours: Emergency Critical Response is available 24/7 |
|
USA - Northeast
New York – New York
Corporate Headquarters – Primary 24/7 Lab
Pennsylvania – Philadelphia MAP
New Jersey – East Rutherford MAP
District of Columbia – Washington D.C. MAP
Illinois Chicago
North LaSalle Center 203 North LaSalle Street Suite 2100
Chicago, Illinois 60601Additional phone number: 866-400-3282
Indiana Indianapolis MAP
Iowa Des Moines MAP
Ohio Cincinnati MAP
Minnesota Minneapolis MAP
Florida Miami-Aventura 24/7 Lab MAP
Florida Ft. Lauderdale MAP
Florida Jacksonville MAP
Florida Miami Brickell MAP
Florida Miami Beach MAP
Kentucky Louisville MAP
Texas San Antonio MAP
California Pasadena 24/7 Lab MAP
California Los Angeles MAP
California San Francisco MAP
Utah Salt Lake City MAP
 Canada
Ontario North York Canada Head Office 24/7 Lab & R&D MAP
Ontario Downtown Toronto
Ontario Ottawa
Ontario Mississauga
Québec Montréal
Alberta Calgary
Alberta Edmonton
Manitoba Winnipeg
British Columbia Vancouver
South America
![]() Mexico Distrito Federal Mexico City
Mexico Distrito Federal Mexico City
Europe - EMEA
![]() UK London MAP
UK London MAP
![]() UK Birmingham MAP
UK Birmingham MAP
![]() UK Manchester MAP
UK Manchester MAP
![]() UK Reading – (Central EMEA HQ – 24/7 Lab) MAP
UK Reading – (Central EMEA HQ – 24/7 Lab) MAP
![]() Netherlands Amsterdam MAP
Netherlands Amsterdam MAP
![]() Germany Frankfurt MAP
Germany Frankfurt MAP
![]() France Paris MAP
France Paris MAP
![]() Spain Madrid MAP
Spain Madrid MAP
Contact us
| Phone: |
Toll Free – USA & Canada 866-400-DATA (866-400-3282) Spain: + 34 (800) 080040 | France: + 33 (805) 321066 | Germany: + 49 (32) 214219688 | Netherlands: (20) 369-0725 | Mexico: 558-526-2541 Live Support Phone Hours: Emergency Critical Response is available 24/7 |
| Email: | CSR @ WeRecoverData.com |
| Contact Form: | Recovery Inquiries | Lab |
| Technical Support (Pre or Post Recovery) | Press Relations | |
| Customer Service | Job Opportunities |
Software to Extract Deleted Virtual Machine Files from a VMFS Volume
Project Title Software to Extract Deleted Virtual Machine Files from a VMFS Volume
Project Start Date: 2016/06
Project Completion Date: 2016/08
Field of Science or Technology: Software Engineering and Technology
Purpose of work
To achieve technological advancement for the purpose of creating new or improving existing materials, devices, products or processes.
Experimental Development:
Overcoming Uncertainties, Work Performed, Achievements, and Outcome
Background:
We received a large multi-volume RAID storage array that utilized a Virtual Machine File System (VMFS) as the host file system. The file system contained files for multiple virtual machines (VMs) in the client’s environment. The array suffered a multiple drive failure, therefore the client and their IT consultants attempted to replace and rebuild the failed drives in the storage array. The overall storage system contained multiple independent RAID arrays and volumes, and drives from different arrays were placed in incorrect positions when rebuilt. Due to the extensive amount of damage resulting from the incorrect rebuild, the VMFS volumes would no longer mount.
Goal:
We attempted to recreate the original configuration in our labs by removing the drives that were known to be invalid and rebuilt those from parity. The result was a very damaged file system, but there was still a large amount of file system metadata and user data that was not damaged. There are very few companies that deal with highly damaged VMFS file systems, so any tools found on the internet were very basic and were only useful with undamaged or lightly damaged structures.
Our aim was to reverse engineer the VMFS metadata structures in order to see if it was possible to manually extract deleted/missing virtual machine (VM) files. The publicly available tools claimed to recover deleted files, but didn’t address file systems that were either reformatted or missing some of the original file metadata. If we were successful at extracting the deleted VM, we needed to see if it was possible to repair missing/corrupted structures since we highly suspected damage due to the incorrect RAID rebuild. If this wasn’t possible, we wanted to investigate if it was possible to create a utility to extract the virtual machine files and patch areas where the metadata traversed corrupted areas. With the lack of accurate technical documentation and an no publicly available utilities to recover highly damaged VMFS hosts, we were uncertain whether it would even be possible to reach our goal.
The overall (damaged) storage array submitted for recovery was suitable for our research purposes since it contained 3 different VMFS volumes, therefore we had a cross section of VMFS volumes of various sizes. This assisted us in the initial stages of reverse engineering the metadata and inode/pointer structures since the differing structure sizes provided additional valuable information.
Through detailed analysis of directory structures, inodes, secondary and tertiary indirect table files we were eventually able to gather enough details of the file system structure in order to navigate through the file structure and hence extract uncorrupted virtual machine (VMDK) files from the VMFS system.
During the examination of corrupted file structures, we noted a regular occurrence of invalid pointers within the indirect pointer files that we assumed were due to the incorrect RAID rebuild by the client. Some indirect pointers that should have been pointing to other pointer tables were either zeroed or contained illegal values. We devised strategies in our experimental utilities that would allow us to extract all valid data, while segregating the corrupt pointers and voiding these areas in the extracted virtual machine file.
In our recovery attempt, we repaired the damaged areas by filling them with legal values that pointed to a signature block that we created. Our hope was that this would essentially mark all invalid areas in the extracted VM files with an identifiable signature so that we would know that those areas corresponded to invalid data pointers. We attempted to mount the volume under Linux vmfs-fuse but it appeared that the modifications were not accepted and the volume would not mount. This was likely due to the severe damage in some other areas of the data and metadata and possibly the fact that many rebuilt pointers were pointing to the same location (this would normally not occur in an operational VMFS volume). Due to this failure, we then proceeded to modify our extraction utility and used it to extract the virtual machine. We had our utility disregard any duplicate pointers as well as some other issues in the volume structures.
The resulting extracted file had all of the retrievable VM data blocks that were possible with the metadata available. Due to data blocks that were corrupted during the rebuild though, corruption that couldn’t be detected earlier became apparent after extraction and examination of the VM file.
We were unable to successfully extract and rebuild a usable virtual machine file for our client since the combination of lost or bad data due to pointer corruption and data area corruption led to a larger amount of invalid areas than initially expected. However, we are able to extract deleted virtual machine files which was our main goal. We can reliably recover deleted files from a VMFS file system if the client submits their case without any further writing to the volume. With knowledge gained, we are also able to recover files from VMFS file systems with moderately damaged internal structures.


The world’s largest organizations rely on us to recover their data


